News
The Importance of Using Primer: When and Why You Need It
Whether you’re a pro painter, a building contractor, or a weekend DIYer, there’s one product that can make or break your paint job: primer. It’s the unsung hero in the painting world, quietly working behind the scenes to ensure smooth application, vibrant colour, and long-lasting durability across various surfaces.
In this article, we’ll break down why using primer matters, when it’s necessary, and how to use it right, including tips straight from the paint specialists at Shaves Paint + Décor, your trusted local paint partner.
What is Primer and Why Does It Matter?
Primer paint is a preparatory undercoat applied to surfaces before painting. Primer improves adhesion of your topcoat, enhances the colour of your topcoat, and helps the paint last longer by sealing porous surfaces or stains.
According to Benjamin Moore, choosing the right primer will dictate your whole project – from the finish of the topcoat to its performance, longevity and durability. So it’s a crucial decision to make, one which Shaves can help you with!
Top Benefits of Using Primer in Your Paint Job
Here’s why the pros and smart DIYers never compromise on using primer:
- Better Adhesion – Primer gives your topcoat a sticky, stable surface to grip
- Colour Accuracy – Get the true tone of your chosen colour, no matter what’s underneath
- Durability – A primed wall is a protected wall, making your paint job last longer
- Cost Efficiency – Fewer coats needed = savings on paint and labour
Applying primer might feel like an added step in your painting project, but it’s an integral part of the process that ensures you work most efficiently time-wise.
When Should You Use Primer?
Wondering if your project really warrants buying and applying primer? There are situations where primer isn’t just helpful—it’s essential— and it would be a major mistake not to use it before painting. Here are the top four instances to use primer:
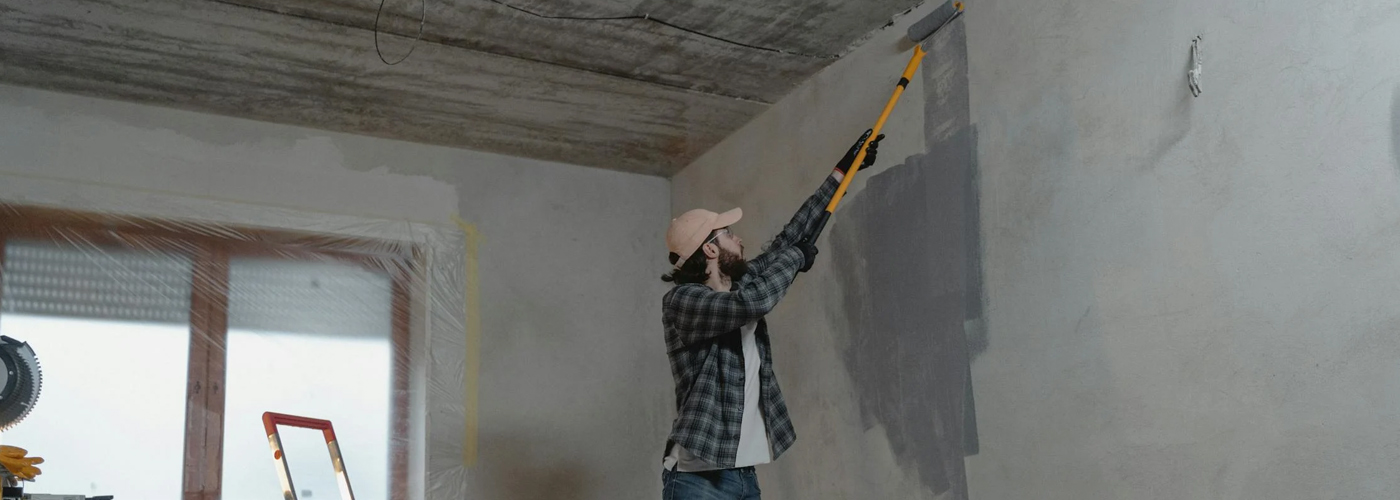
1. New Surfaces
Bare drywall, untreated wood, fresh plaster, or metal? These materials are very porous and uneven, which can suck the life out of your topcoat. Primer seals them and gives paint something solid to cling to, also reducing the number of topcoats you’ll need – saving you time and money.
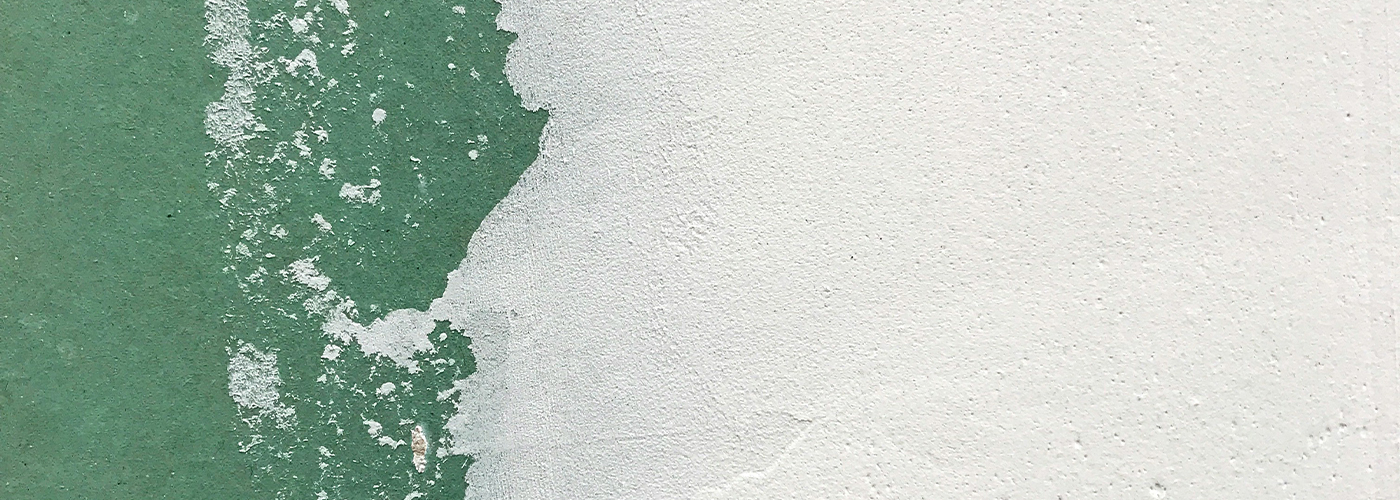
2. Stains and Repairs
Some walls are flawed. They might have water damage, patched holes, or be smoke-stained. This is totally solvable thanks to stain-blocking primers which hide those marks so they’re not visible in your final coat. Primer makes them disappear as if they were never there. Our recommendation for this tough job: Dekade Stainblok.
3. High-Moisture Areas
Bathrooms, kitchens, and exterior walls face constant moisture. So, these are the areas where primer should not be skipped. Choose a moisture-resistant primer to prevent bubbling, mildew, and peeling paint down the line.
Before going into the paint store to buy your primer, make sure you’ve got all the relevant information for your project based on the above top 4 list.
Different Types of Primer and How to Choose
You don’t just get one type of primer. As we’ve already established, surfaces and situations differ, which require different chemically formulated primers to handle the specific job at hand. At Shaves Paint + Décor, we stock a full range to suit any surface or situation. Here’s a useful guide to see which primer is best for your paint project:
| Oil-based Primer | Water-Based (Acrylic) Primer | |
| Best for: | Raw wood, stained surfaces, and smoke-damaged walls. | Drywall, cement, previously painted surfaces, and eco-conscious projects. |
| Known for: | Superior stain-blocking and sealing properties, due to thick coverage. May release VOCs. | Low odour, low VOCs, quick drying, and easy cleanup. |
| Ideal for: | High-traffic areas, though drying time is longer. | DIYers or anyone in a hurry. For bedrooms, living rooms and exterior walls. |
Check out these primer FAQs to learn more about which type works best where.
Top Benefits of Using Primer in Your Paint Job
Here’s why the pros and smart DIYers never compromise on using primer:
- Better Adhesion – Primer gives your topcoat a sticky, stable surface to grip reducing the risk of peeling and flaking.
- Better Colour Match – Primer helps your paint show up more evenly and consistently, so what you see on the swatch is closer to what ends up on your wall.
- Durability – A primed wall is a tough, protected wall, making your paint job last longer.
- Cost Efficiency – Fewer coats needed = savings on paint and labour.
Applying primer might feel like an added step, but it’s an integral part of the process that’s responsible for your painting project’s success.
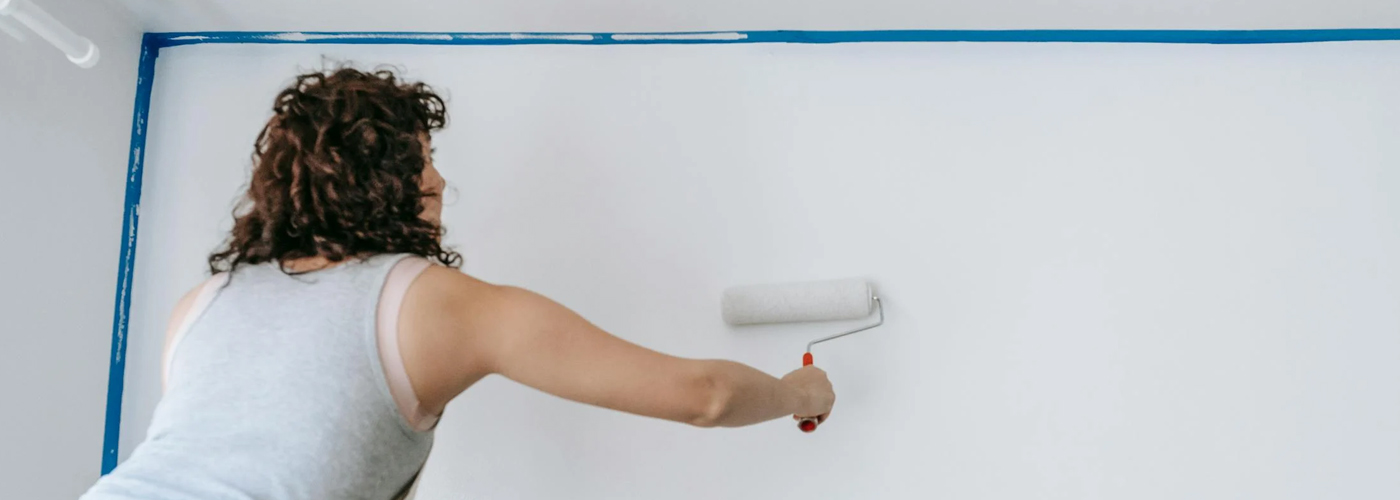
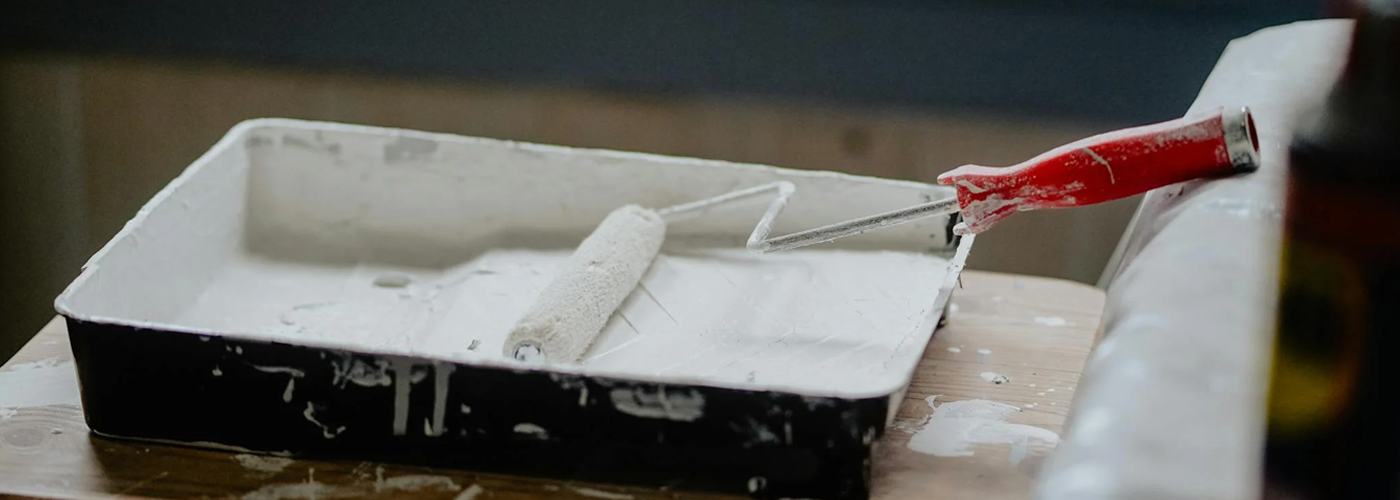
Tips for Applying Primer Like a Pro
Here are 3 simple steps to follow to ensure your primer does the job it’s been designed to do:
- Prep Your Surface
- Clean the area. Remove dust and grease by using sugar soap, rinse off with clean water.
- Sand any rough or uneven spots. Use a scraper to scrape away any peeling or cracking paint, and fill cracks or holes with a filler.
- Let everything dry properly before priming!
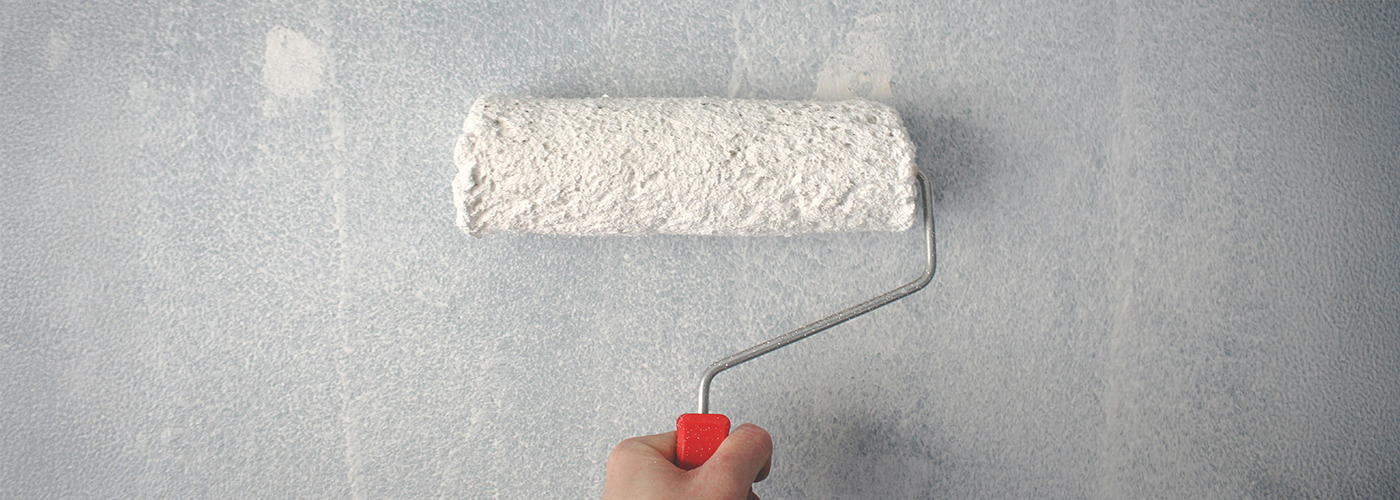
- Use the Right Tools
- For smooth walls, go for a roller.
- On trims and corners, use the right-sized brush.
- Large surfaces? Consider a sprayer.
- Let It Dry
- Always allow your primer to dry fully before applying the topcoat of paint (check the label as drying times vary).
Shaves Paint’s Primer Recommendations
When talking primer, there’s no one-size-fits-all. At Shaves Paint + Decor, we don’t just sell primer off the shelf, we guide you through decisions based on what you’re painting, where you’re painting it, and what kind of finish you want. For example:
- Coastal homes often face constant moisture—our team might suggest a shellac-based or moisture-resistant primer that can stand up to salty air and humidity.
- Older homes with mixed surfaces like plaster and patchwork repairs? We’ll help you layer your prep correctly with bonding primers that unify the surface and prevent uneven absorption.
- Busy commercial spaces or rentals might benefit from stain-sealing primers that can be top-coated quickly with minimal downtime.
- Sustainable builds or allergy-sensitive homes? We stock low-VOC, water-based primers that perform well without strong odours.
Shaves Paint staff have worked with painters, builders, and homeowners in Gauteng and KwaZulu-Natal for decades, so we know what holds up in local conditions, from the dry heat of the Highveld to the sea spray in Ballito.
Pop in for real, practical advice tailored to your project. And if you’re tackling something unusual, bring photos—we’ll help you figure out the right prep and the perfect primer. We’re here to help you paint with confidence, give you peace of mind, and guide you to success.
“When in doubt, find out at Shaves, your paint professionals”- Quentin Naicker, Shaves Technical Sales Representative.